
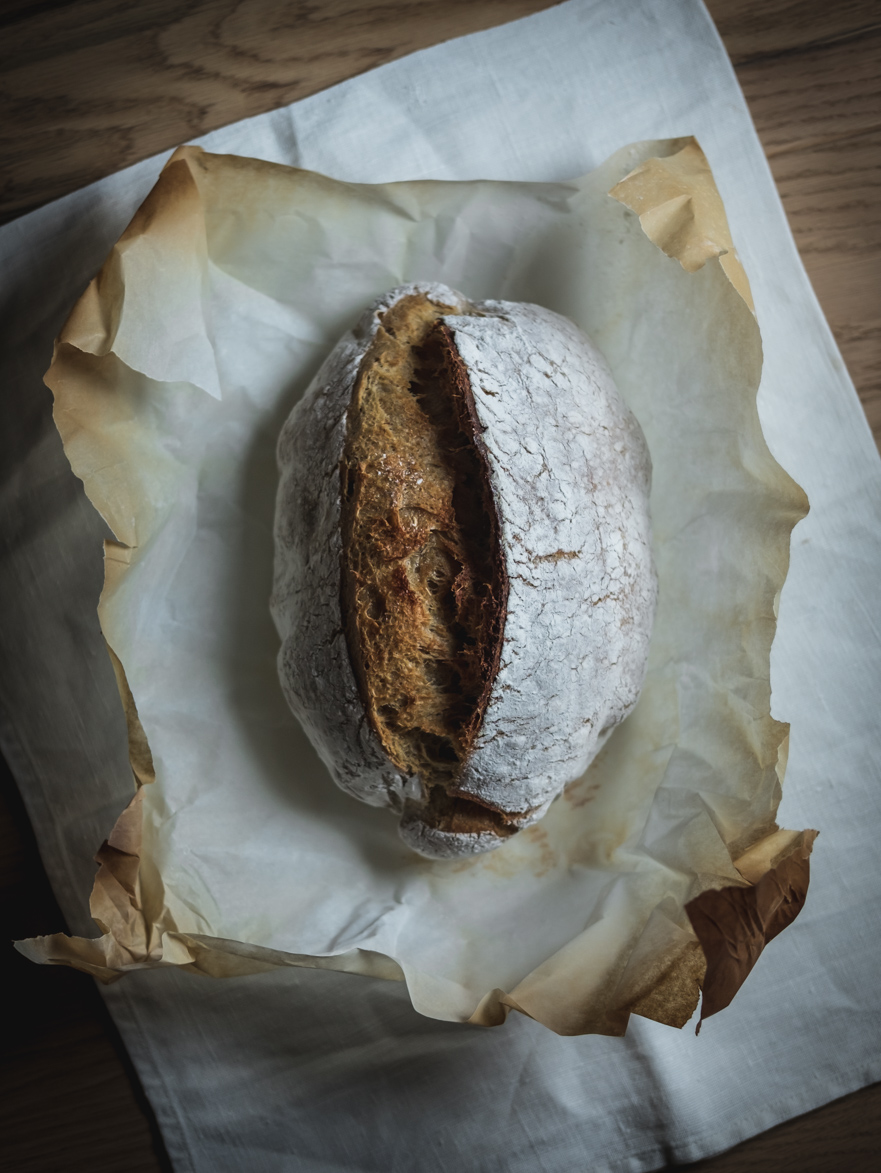
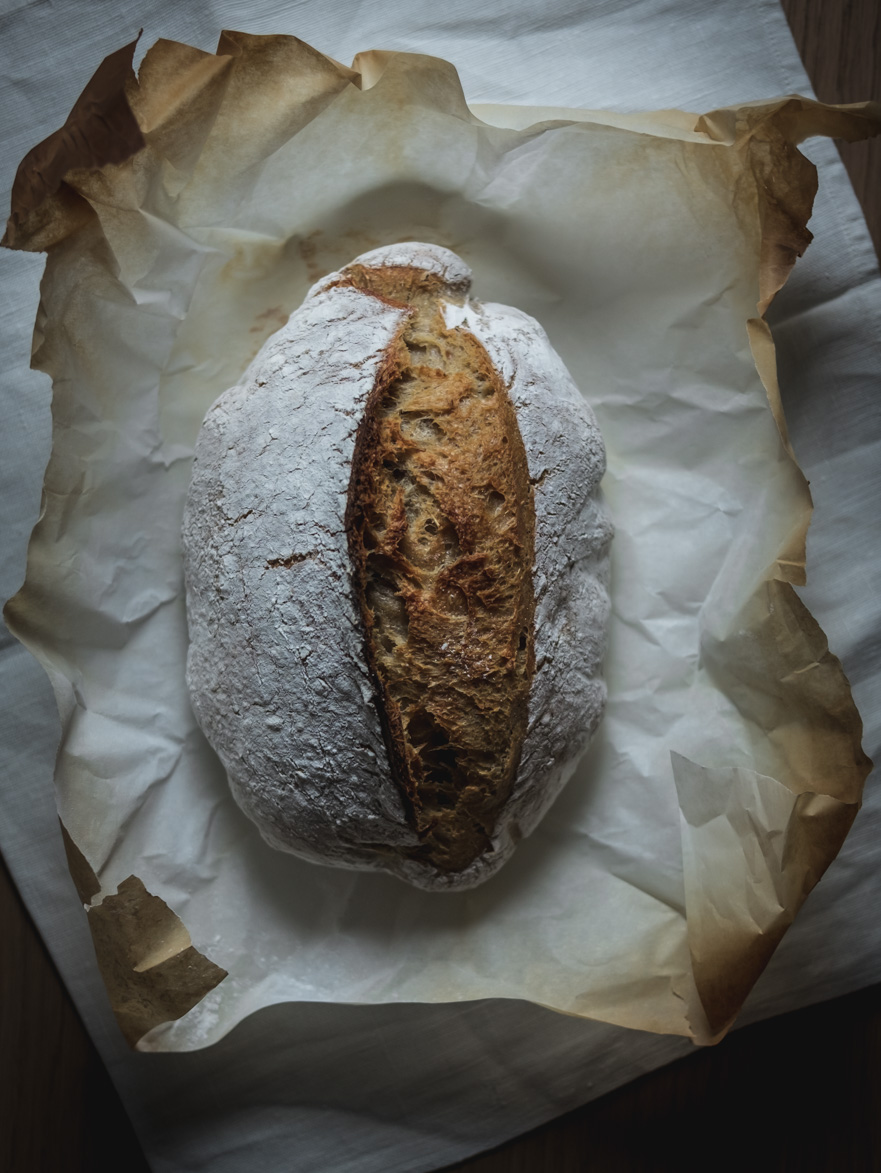
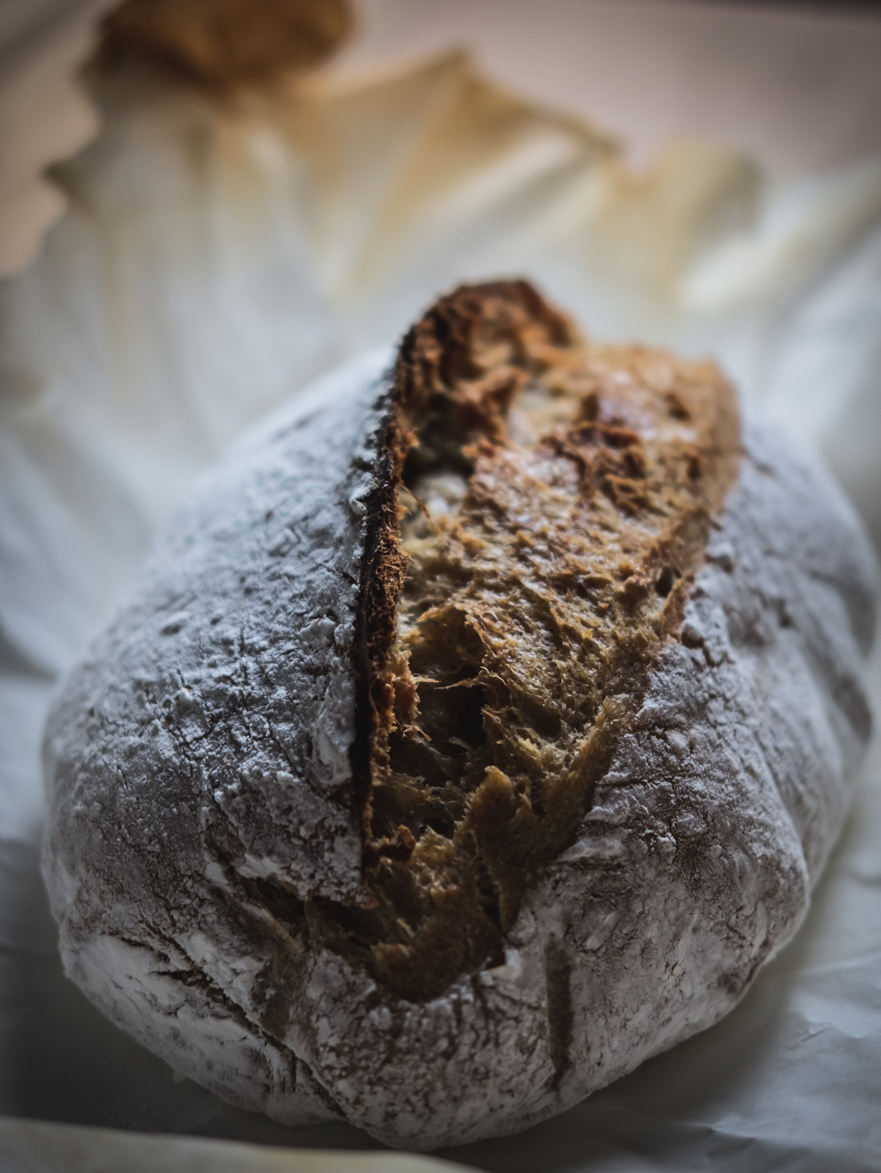
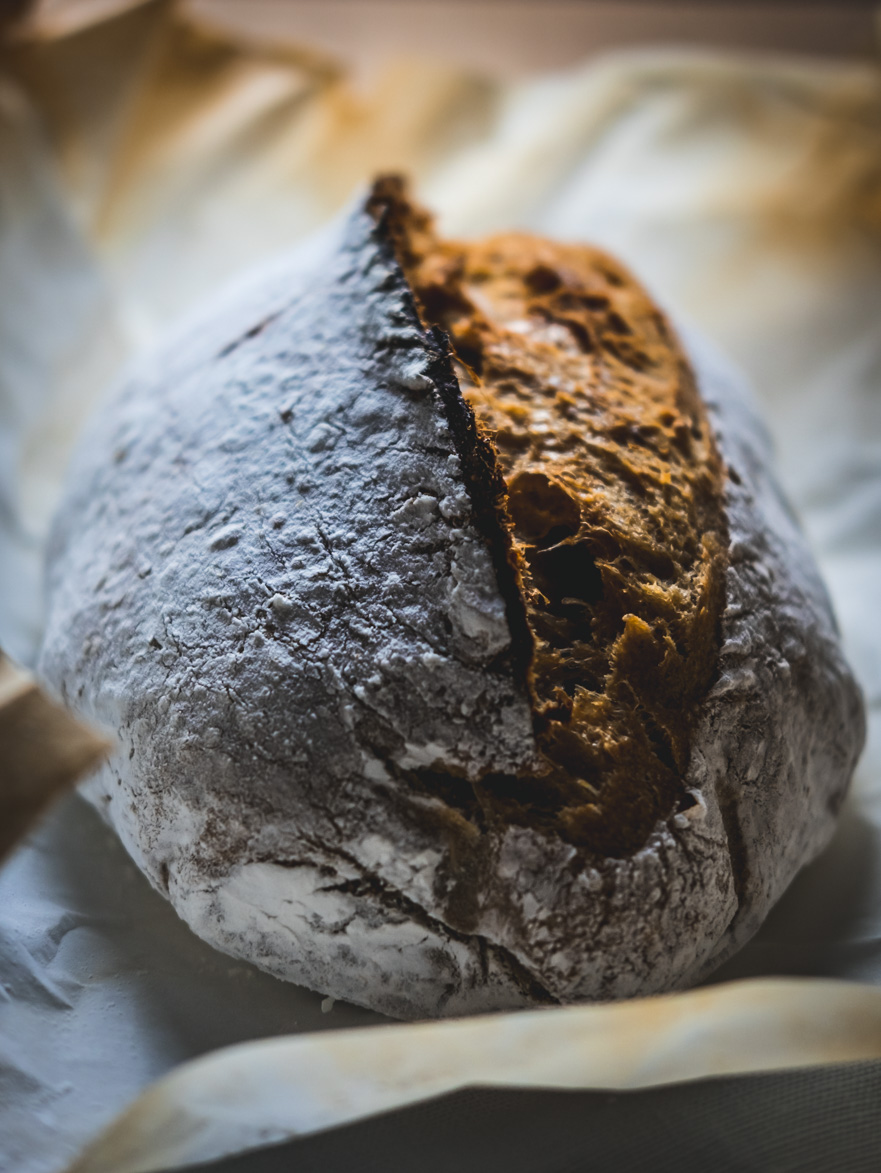
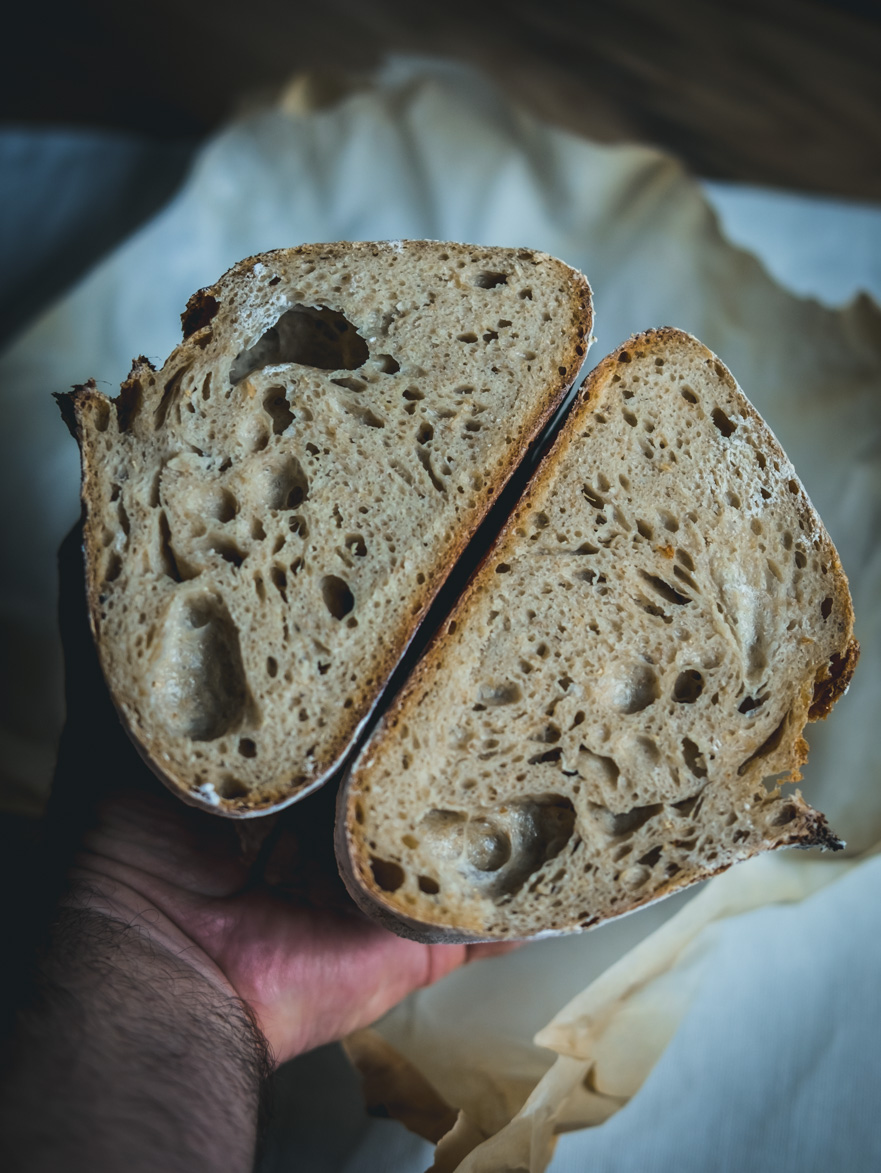
Let’s start with the bad news…
Sourdough bread does not happen quickly, it takes its time (it would be advisable to allow more than 24 hours).
It needs organised preparation as we start from a place that is not your standard bread making place, the sourdough itself.
Let’s go to the good news…
- We don’t need yeast
- It has a better taste than an average loaf of bread with yeast
- It doesn’t need kneading
Let’s start the journey…
Sourdough. We must have a good strong sourdough. Sourdough contains microorganisms which eat the flour and grow, producing air which makes the bread rise which also improves the taste.
If we have the dough in the fridge or the freezer we must allow it to achieve room temperature and feed it every 12 hours to keep it strong.
We start the dough when our sourdough is still in the development stage. The microorganisms in the dough once the flour is added have a “party”. They start eating and developing and the sourdough rises. We must add to our dough when the microorganisms are feeding, developing and happy and not when they are diminishing.
4-5 hours after feeding them is about right.
The flour has gluten in it also, a protein which helps keep the air which has been produced imprisoned and does not allow it to escape. This means two things.
- The flour that we use must have lots of gluten in it. Hard flour, bread flour is the best, whichever has the most gluten.
- Gluten as a protein is coated with a skein like structure whereby the present of water causes it to unfold; and the more it unfolds the more of a structure to imprison the air produced by the micro-organisms exists. This imprisonment of the air causes the structure to tighten with the result being the dough rises more easily. This unfolding takes time. Therefore.. we don’t simply add water to flour and then add it to the dough and expect it to become bread.
The water and the flour require more than an hour together (up to one night or more) to allow the gluten to unfold and to achieve a good dough. So the first thing we do is mix the water with the flour…without any sourdough or any salt…
So ..we begin the process of making the sourdough in the morning.
In a metallic or plastic large bowl we put the flour and the water.
Mix it together with a metallic spoon until it becomes a muddy consistency and then cover with cling film or a lid for quite a few hours to allow the molecules in the water to enter the flour.
How much water, how much flour and what flour and what water?
Water at room temperature, water from the tap which has been standing for hours to allow the chlorine in it to evaporate out of it.
We have talked about the flour we need to be “hard” bread making flour. We could play around with it by putting wholewheat flour if we wished with some all purpose flour.. I use 20% wholewheat, all purpose 15% and 5% Barley or oatmeal.
The more water we put into the mixture to flour will make the loaf lighter and will form those wonderful holes we see in pictures on instagram. The more we have the harder it is to work the dough though.
The ratios used by bakers is in percentages and I use the same method and you will see how easy it is.
The flour is always 100%.
The amount of water can be anything from 60-100%. What does that mean? For every 1000g of flour we can add 600-1000g of water. The less water there is, the easier the dough will be to work with but also the tighter it will be. The more water there is the lighter it will be and the dough will have more holes but be harder to work with. If you start now you should start with 60% at the most 70% and when you have got the hang of it make the dough more watery.
The sourdough is always 15% and the salt 2%…
Therefore for a dough of 60% moisture with simple or hard flour the amounts are 1000g of flour, 600g of water, 150g of sourdough mixture and 20g of salt.
So we add the water to our flour, we mix it together and wait.
At the same time we feed our sourdough mixture and leave it to rise.
When our sourdough mixture is ready, which we know from the fact that it has doubled in mass and, if it passes the floating test, ( if we take one spoonful out of the mixture and put it into a glass of water and it floats) we put this amount into the bowl with our dough. We feed the rest of the sourdough mixture and put it back into the fridge.
We add the sourdough to the top of the dough and add the salt.
All these things must now become one. This is a process that will take in total, 2 hours and every 30 minutes we have to “pull” the dough in on itself.
With each “pull” the gluten unfolds more and creates fibres in the dough. The dough becomes all the more cohesive and much smoother.
How does the ‘pull” happen? We soak our hands in water and shake them well and grab the dough from below at the ’12 noon point of the clock’ in the bowl.
We pull the dough up into the middle of the circular dough and pull it in on itself.
We turn the bowl 90 degrees and do it again, and again.
Then we cover the bowl and leave it alone for half an hour.
After 30 minutes we do the same thing again (4 rotations)
We cover the bowl and leave it for 30 mins.
In other words every 30 mins one set of “pulls”
Total of 4.
When we do the last one we will notice that the dough has changed and has become softer and more elastic…
Now the time has come to leave the dough and allow it to rise.
Here we have two solutions:
a) To leave it at room temperature to rise for 4-5 hours or
b) If it’s getting late we can leave it to rise slowly in the fridge for 12 hours.
Depending on the process you choose and when you start you can follow one or the other..
We cover the bowl with cling film and leave it to rise.
The dough will not rise more than 30-50% so don’t expect it to rise like bread made with yeast..
The dough is ready when we press it in the middle and it DOESN”T return to the same position completely..
A little impression is left in other words. If we press down on it and it returns to the same position it needs more time to rise as the microorganisms are still developing. If the dough doesn’t return AT ALL we have left it for longer than we should have…
We take the dough out of the bowl once ready with the help of a spatula and place on to a lightly floured surface. We don’t want TOO much flour on the board or surface. We want the dough to stick a little to the work surface.
We cut the dough in two at the middle and make the pre-shaping of the loaves.
Each part of the dough we form into the shape of a rectangle with the short sides facing us. With our fingers we bring the long sides towards the centre.
Then starting at the top we roll the dough towards us making sure that we press it every now and again to make it stick to itself.
In this way we have formed two loaves of bread so we cover the and let them rest on the workbench for 30 minutes.
After 30 mins we repeat the process in order to have two perfectly formed loaves of bread.
We place the loaves with the “seam” side up into two bowls which we have lined with a piece of cloth or a tea towel which we have liberally floured with rice flour which is bette than ordinary flour.
Again we can continue in two ways:
- We can let the loaves to proof for 2-3 hours at room temperature or
- We can place them in the fridge and let them prove overnight
In both cases we need to cover them with cling film.
If you have the dough in the fridge remove it and leave it at room temperature for 2 hours before baking.
Preheat the oven to the highest temperature it has for at least half an hour.
Having placed a Dutch oven or heavy Le Creuset casserole dish in the oven before turning on the heat take it out and place on the worktop.
Place a piece of greaseproof paper on the worktop and place the dough onto it by turning the bowl upside down.
Carefully remove the piece of cloth because sometimes it may stick to the dough if you have not used enough flour.
Using a pastry brush remove any excess flour from the loaf.
With a very sharp knife or razor score the dough.
Take the Dutch oven out of the oven and carefully place the dough on the greaseproof paper into it, put the lid on carefully (it’s hot!!) and place it back in the oven.
Bake the bread for 20 mins, turn down the temperature to 200C and remove the lid of the Dutch oven and bake for a further 30 mins or until the bread has a nice colour.
Turn off the oven and leave the bread inside with the door ajar (if needs be with a tea towel) to allow the bread to dry out completely…
Remove the bread from the oven and allow to cool down completely before cutting to serve.